
Several weeks ago I was lucky enough to score a spot in Carla Owen's class on felt-making, using resists to felt things in the round. In the back of the room there were two tables covered in gigantic balls of wool (wound out of long strips of merino wool, the primary wool we'd be using that week). Under the table were boxes and boxes of domestic breeds, all in natural un-dyed colors. Heaven!
Our first project was a hat. We all started with the same exact size and shape. The size was determined by the resist, which is made out of that kind of thick yet flexible material you might cover chairs in a diner with. carla knew the shrinkage rate for merino (40%), so had made a resist that was 40% bigger than our actual hat was supposed to end up. Of course, since it's felt we're making, lots of different sized hats could come from the same size resist, because if you have a bigger head you could stop felting earlier, and if you needed it smaller you could just keep going. It was so interesting to see all the different types of hats that the class made, just from felting at different rates and on different areas of our hats! Several friends of mine have asked how I made the hat, so Ashley and Jenna, this one's for you!
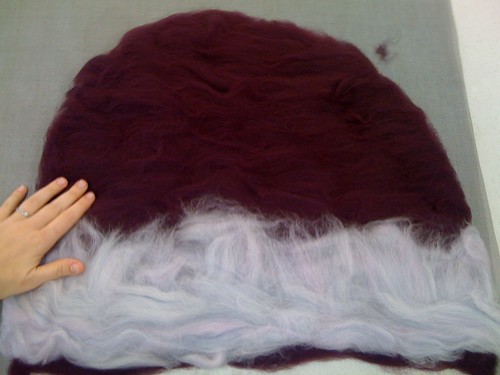
So how exactly do you go about actually making a resist felted object? First of all, we worked on screens. Just a roll of nylon screen, the type you'd use for a window. We first placed a paper pattern that was a little bit wider than the resist on the table and put the screen over it, and then laid out three layers of roving, in loose tufts, with the first layer laid out horizontally, the next layer with the fibers running vertically, and the final layer horizontally again. Then we put the resist down on top of the wool, and did another three layers just like the first, but on top of the resist. Because the paper pattern we used was slightly wider than the resist, the layers of wool overlapped at the edges (except the bottom edge, of course, which is the opening), and we encouraged that overlapping by using our fingertips to splash a little water on the edges and sort of glue them in place so that they curved around each other.
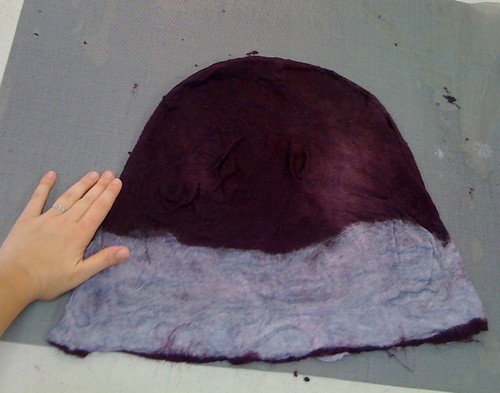
Once all the layers are in place, we put another piece of screen on top and sort of basted them together with a running stitch of twine, stitching as close to the wool as possible. This proved to be very helpful, as the secureness of the screen sandwich helped all the wool stay in place while we rubbed it like crazy with soapy hands. (This class was very exfoliated by the end of the first day). Also, as you start to felt the hat, the edges will start to pull away from the stitched outline you made, which shows you just how far you've come.
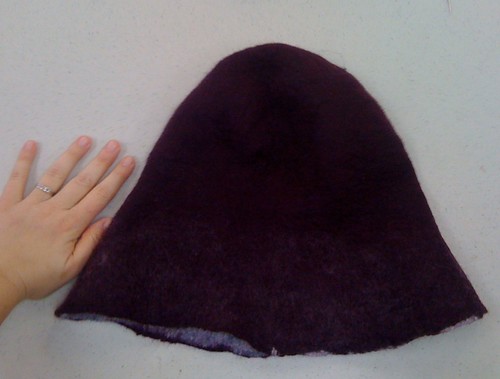
Felting step one: sprinkle your project with water. Step two: rub the screen with a bar of natural, old fashioned soap. Steps three through three hunded and three: agitate. Rub up and down, side to side, ball that sucker up (once it's all started turning into felt, of course) and squoosh the hell out of it. Keep on agitating it until you feel like it's pretty solid, and then cut your stitching off the screens, toss the screens aside, and reach your hands into the hat and work just the seams. They are delicate! But they get nice and strong really fast once you start working them from inside and out at the same time. Here's a picture of my hat, with the resist still inside, before I started working the seams.
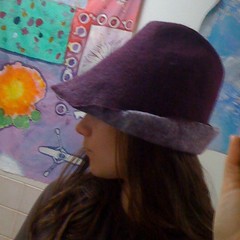
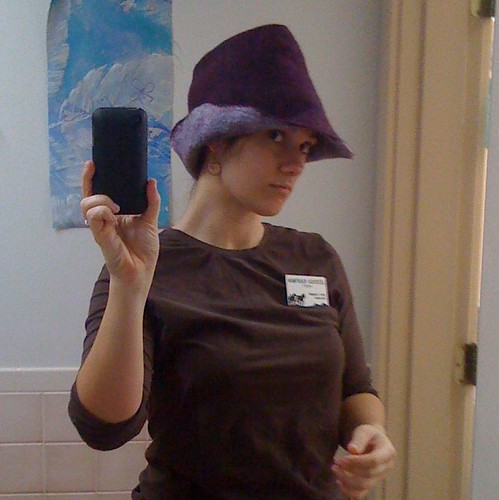
Once the seam is strong all the way around, you're done with the resist! Now it's time to put it on your head and take a silly "before" picture, so you can remember just how big and floppy it once was.
I'm so proud of my hat. It's exactly what I was after, in size, color, shape, and everything. I wore it in my Morris Dance class this weekend and it was just perfect. Total success!
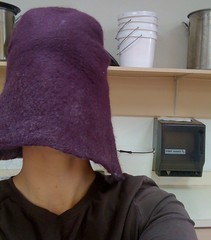
Later in Carla's class I attempted to make an oversized "mountaineer" hat, like a moonshiner's hat, from a pattern left behind by legendary Canadian host and blacksmith Matt Jenkins. He even wrote on the pattern, "Matt's Big-ass Hat". I felted it too quickly in width and not fast enough in length, so it's crazy tall. Fortunately, Conway my co-host tried it on and it looks perfect on him! He wore it during our Morris presentation and it looked so nice, I said he could keep it. Happy trails, big-ass hat!

1 comment:
You look adorable--as usual.
Post a Comment