31 October, 2009

Soaps are up at Etsy!

My handmade soap bars have finished curing and are ready to pack up and send to YOU! My position as host is unpaid and I would love to support myself (read: pay off student loans) by selling what I make while I'm here. Oh, and they're CHEAP! If you order soon, I'm throwing in a free sample bar of another variety! Order a few bars and I may just include a handful of samples. Feel free to regift to your heart's content!

So, which ones float your boat?


Simple, unscented and hand-stamped


Sweet spearmint bars-- vegan!


Nag Champa and oatmeal


Calendula: round slices with organic calendula flowers


All-natural blueberry and lavender bar


(My personal favorites: lemony calendula bars that smell delicious!)


Peppermint morning soap with coffee grounds for scrubbing!


Where my foodies at? Salt and pepper soap may be rare but I think it's a perfectly respectable combination!

29 October, 2009

What's kept me busy for so long?

My last entry reported on the end of my week in Fair Isle Knitting, and now I'm reporting on the last day (almost) of my polymer clay class! Where did the time go? Here's a sneak peak:


As you can see, I've been learning how to coax polymer clay, my old wham-bam standby, into looking like ivory, turquoise, lapis lazuli, jade, tiger's eye, lava, and malachite (in my order of favorites) plus banded agate, red jasper, antique coin, and faux concrete (the ones I didn't feel the urge to try-- although once I saw my classmates' pieces in agate I sort of wished I'd made some). Our teacher was the truly fabulous Irene Semanchuk Dean, who taught the class like an actual teacher who thinks in a linear fashion and has a plan in her head of what needs to happen and when. It was awesome, and I came out knowing so very, very much more about polymer clay than I had before. All the Sculpey III that has passed in such crude forms through my hands... if only I knew then what I know now... and I only had a 5 day class! If anyone is interested at all in intermediate polymer clay techniques, especially faux natural surfaces, take a class with this lady. She lives in Asheville and demonstrates at the Folk Art Center often. For those not near Asheville, just buy one of her many books (the class was based on this one) from your local book-gettin' place.

I want to keep this short because tomorrow (hopefully) I'll have a SLEW of amazing goodies to post on here and show off-- all on their way to my Etsy shop! The gift-giving season is moving quickly towards us, and I would love to sell you some of my beautifully crafted handmade soaps, or the freshly minted polymer beauties I've been churning out all week. Please mention my store in your own blogs, if you can and are willing, because I'd love to spread this Folk School bounty far and wide!

21 October, 2009

Fair Isle Heaven

DSC08049
Both hands
Now use both hands
Oh don't close your eyes...
-Ani DiFranco


Who knew Ms. DiFranco was talking about knitting?

It feels like it's been awhile since I wrote, and for that I am sorry. It's been a great week here, but there is a bit of family woe going on, and I didn't feel like writing, and the internet has been weird, and this sentence has too many commas. And I'm also in the Best Class Ever! (So far.) For the last 3 days I have been fully immersed, and I mean glued to my chair, in the world of Shetland and Fair Isle knitting patterns. And history. And theory. And practice-- lots of practice (I may or may not have worn a hole into my left index finger. I'm not telling). I made this mitten as my sampler:

DSC08052

You like? It's actually finished now, with some cheeky blue triangles adorning the fingertip part. And now I have moved on to a stranded little purple something on which I shall perform my first steek (!!!). The knitting goodness abounds at the Folk School lately: Jenna has learned to cable, Lenee has gone from a non-knitter to a kntitting-in-the-round-and-mastering-ribbing knitter, and Barb is making steady progress on her first project: an alpaca vest. Nice, huh? We're a crafty bunch. I'm also very happy today because I showed up to dance practice for the NW Morris Team, the Dames Rockets, and totally got accepted. Sweet! It was my favorite kind of difficult: the kind you can pick up on just enough to offer a tantalizing glimpse of what it will feel like when you've got it down pat. It's complicated but SO FUN. And I get to clunk around in wooden shoes that look just like my ever-present Danskos-- but with wooden soles. Beat that. After that I had practice for the Garland team, which is also good fun.

It's been extremely cold here, but it stopped raining, so there's that. I'm doing good on my eating-well plan. This weekend I'm off again so I'm going to SAFF. And there's a teacher here from my Elementary School! Hello, familiar face!

And now, please enjoy some prize snaps from class. More to come.
DSC08037
Martha Owen discusses technique

DSC08042
Martha Owen discusses color selection

DSC08039
Some Shetland inspiration that was passed around our class. Many oohs and ahhs.

DSC08046
My teacher (right), her daughter and assistant (middle), and husband (left) sing some morning songs.

18 October, 2009

The Down and Dirty Details of Soapmaking

Glycerine soaps, shrink wrapped and labeled.
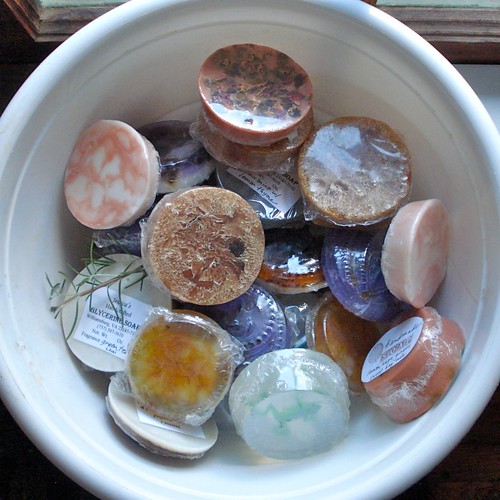
[Glycerine soap bars, the easiest and fastest kind to make. They're shrink-wrapped so they don't sweat in the humidity]

Let me just say this: one person does not need forty pounds of soap. It's a really good thing that Jenna and I decided to join forces and take this class together, and an even better thing that the instructor agreed to let us split the cost (and the outcome) of one soap "kit." (Kit in this case just means a set amount of oils, fats, lye, and tools.) As it was, we still ended up hauling trays of finished soap back to the Keith House every day, and I feel certain we each ended up with at least 20 lbs of end product.

We cooked three "from scratch" batches of soap, one each on Monday, Wednesday, and Friday, plus played with glycerine "melt & pour" style soaps. Jenna and I made lists of ideas, collected herbs--fresh and dried--and essential oils, and spent the week playing with lye, lard, coconut oil, palm oil, palm kernel oil, beef tallow, etc.

Pouring out our lard bars
DSC07979
One of our soap batches: peppermint with coffee grounds for exfoliating
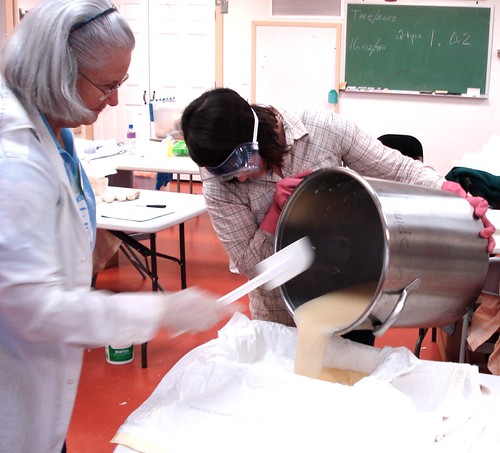
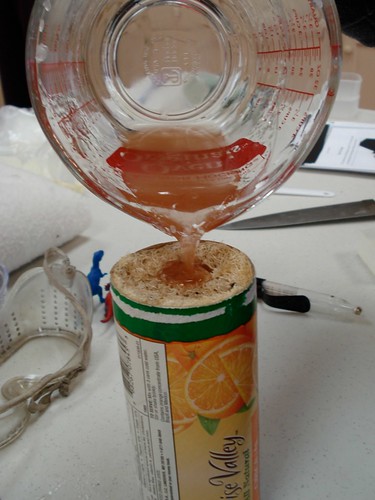
Above: pouring a big batch of homemade soap, still nice and hot from the lye
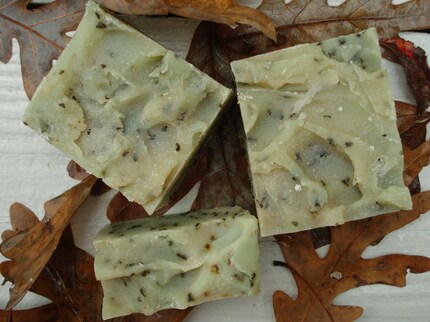
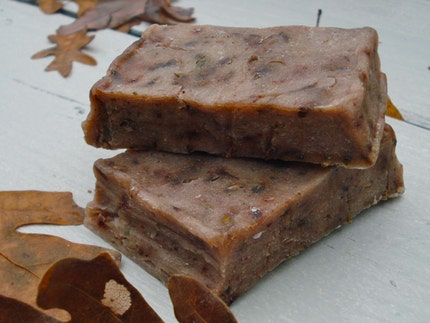
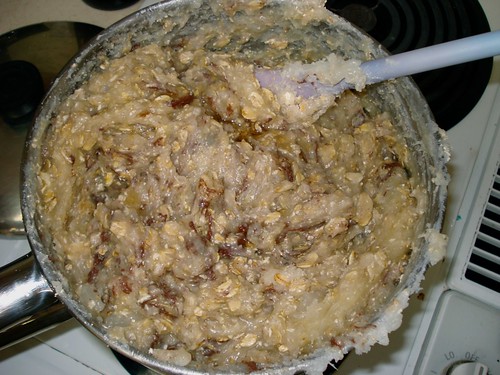
Middle: Re-milling (heating & softening) a batch of oatmeal Nag Champa soap
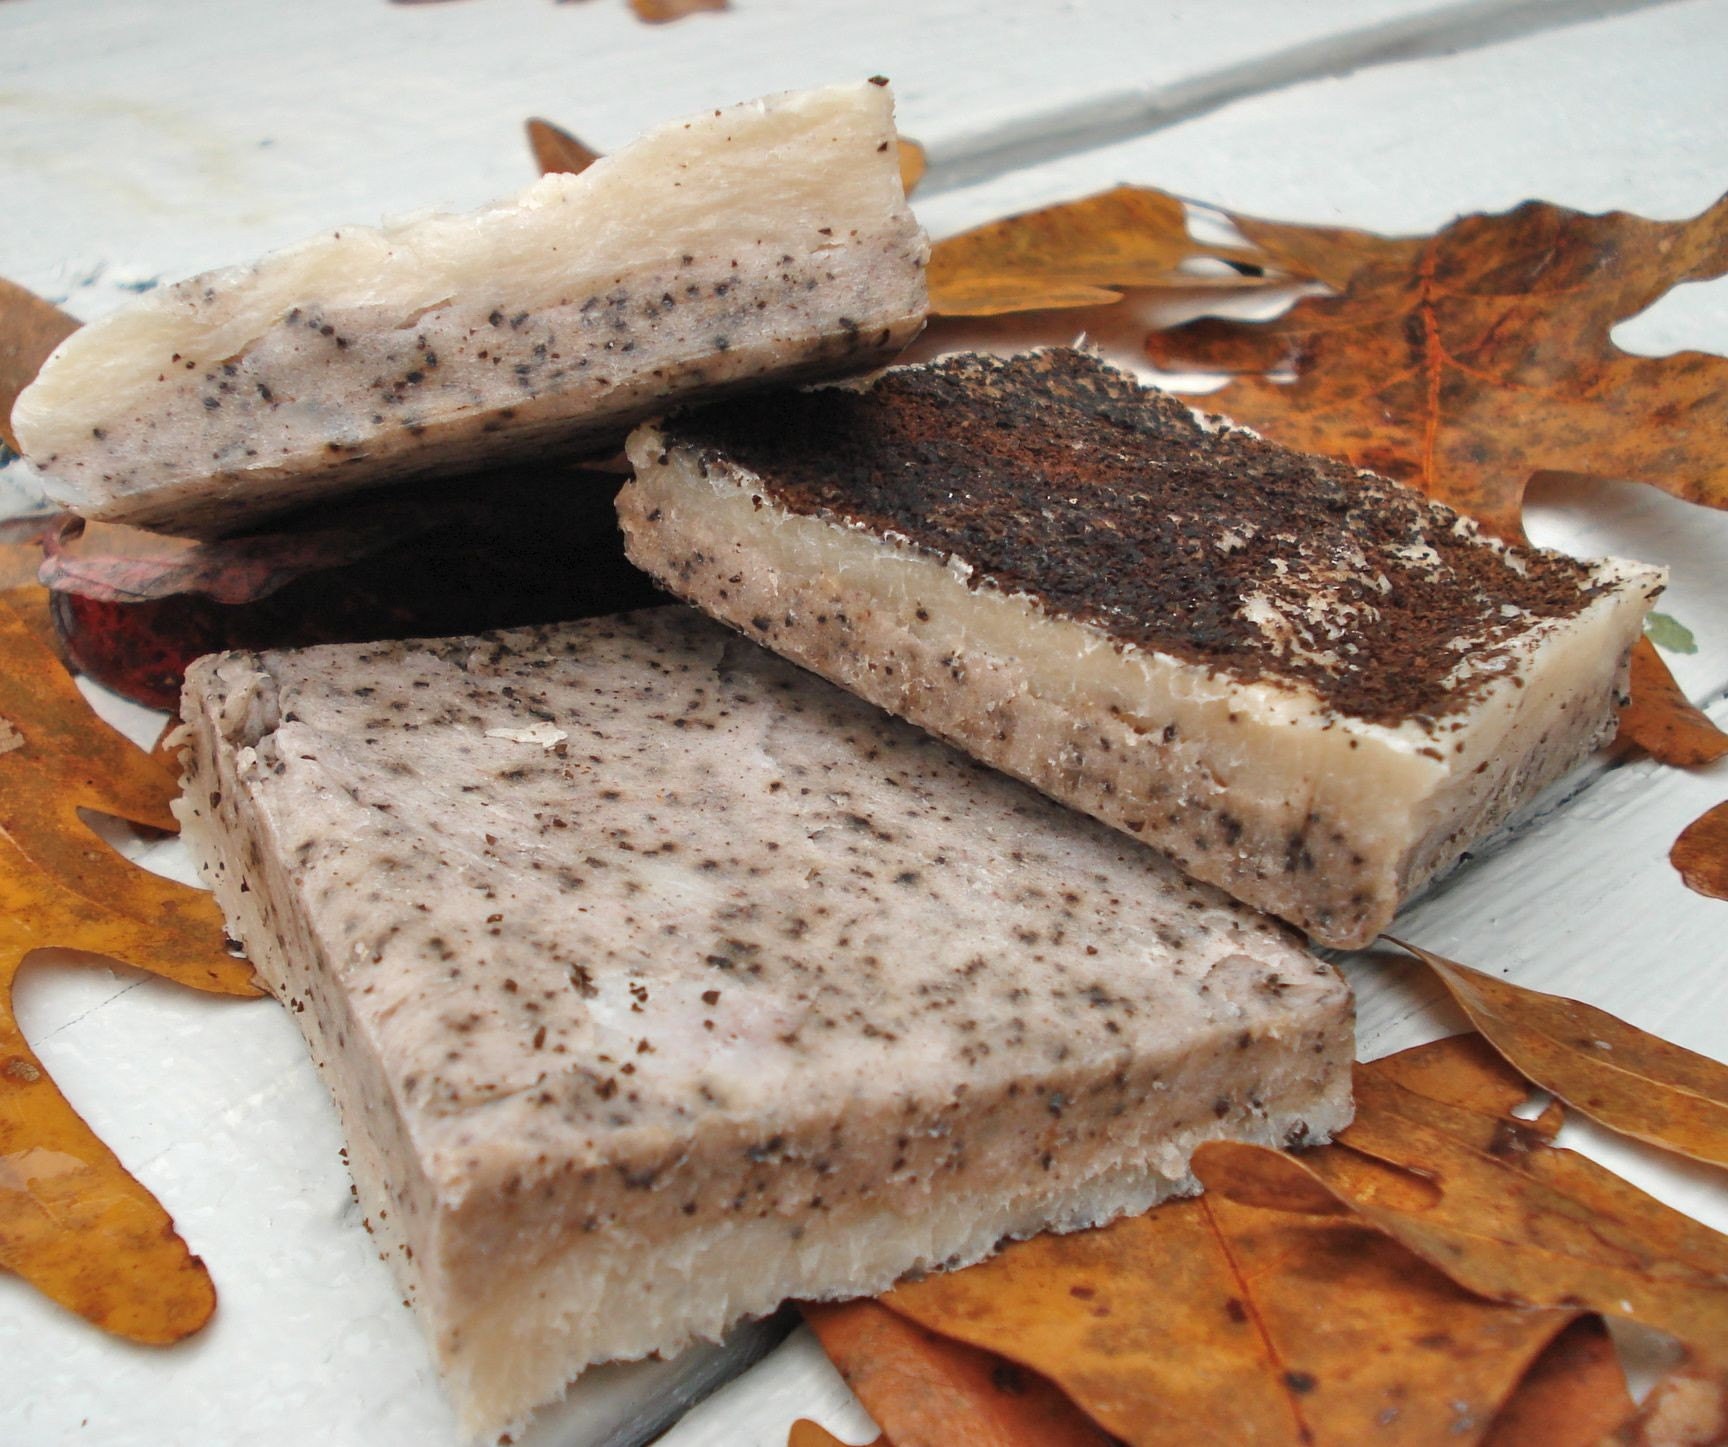
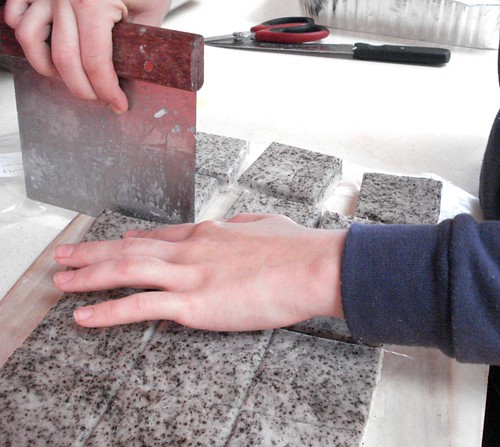
Bottom: Chopping up bars of peppermint-scented soap with coffee grounds for exfoliation


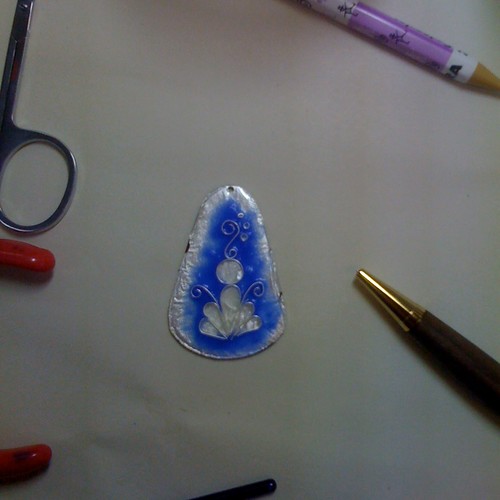
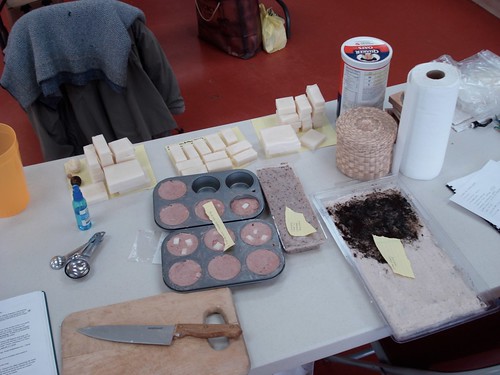
I wish you could smell what we made! Especially the lemon calendula batches. They are my absolute favorite. Every time we sliced up a new batch we laid all the pieces out and "chose teams," picking bars one by one until we had divided up the whole batch. We made minty soaps, hippie soaps, scrubbing soaps, moisturizing soaps, plain and unscented soaps, flowery soaps, and a few soaps with toys hidden inside, just for kicks. Here's what our work station looked like on an organized day:
DSC07974

Glycerine is sort of weird. It is basically already soap when you buy it; all you do is chop it up small enough to melt in a glass container in the microwave and then add whatever scents, colors, etc. that you want. We started the class with this soap and went a little crazy making super small batches (like, 3 or 4 bars) of each kind of combo that struck our fancies.
DSC07960
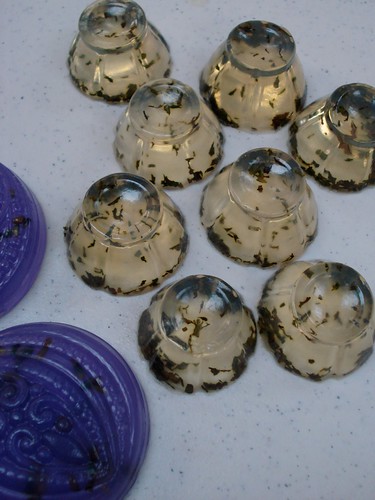
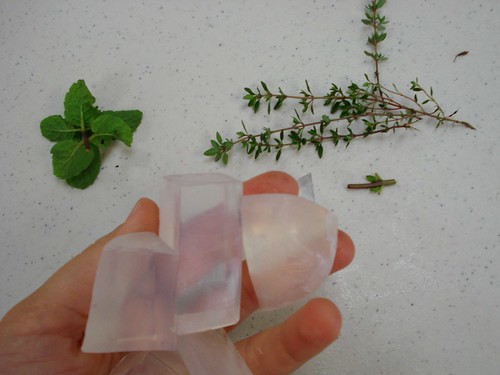
(don't these glycerine chunks look like ice cubes?)

Glycerine soap is safe and easy enough to play with in a classroom or camp, and with all the flu scare stuff going on, I think it'd be great to make soap with a group of kids to help encourage handwashing. Here's a few of my glycerine ideas:
DSC07963
DSC07968
DSC07965
DSC07966
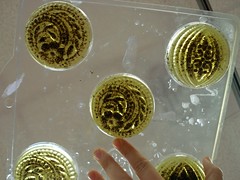
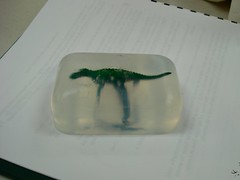
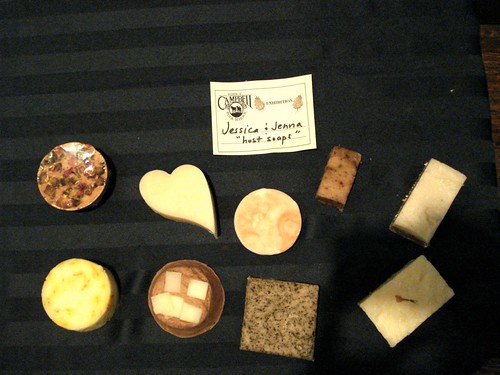
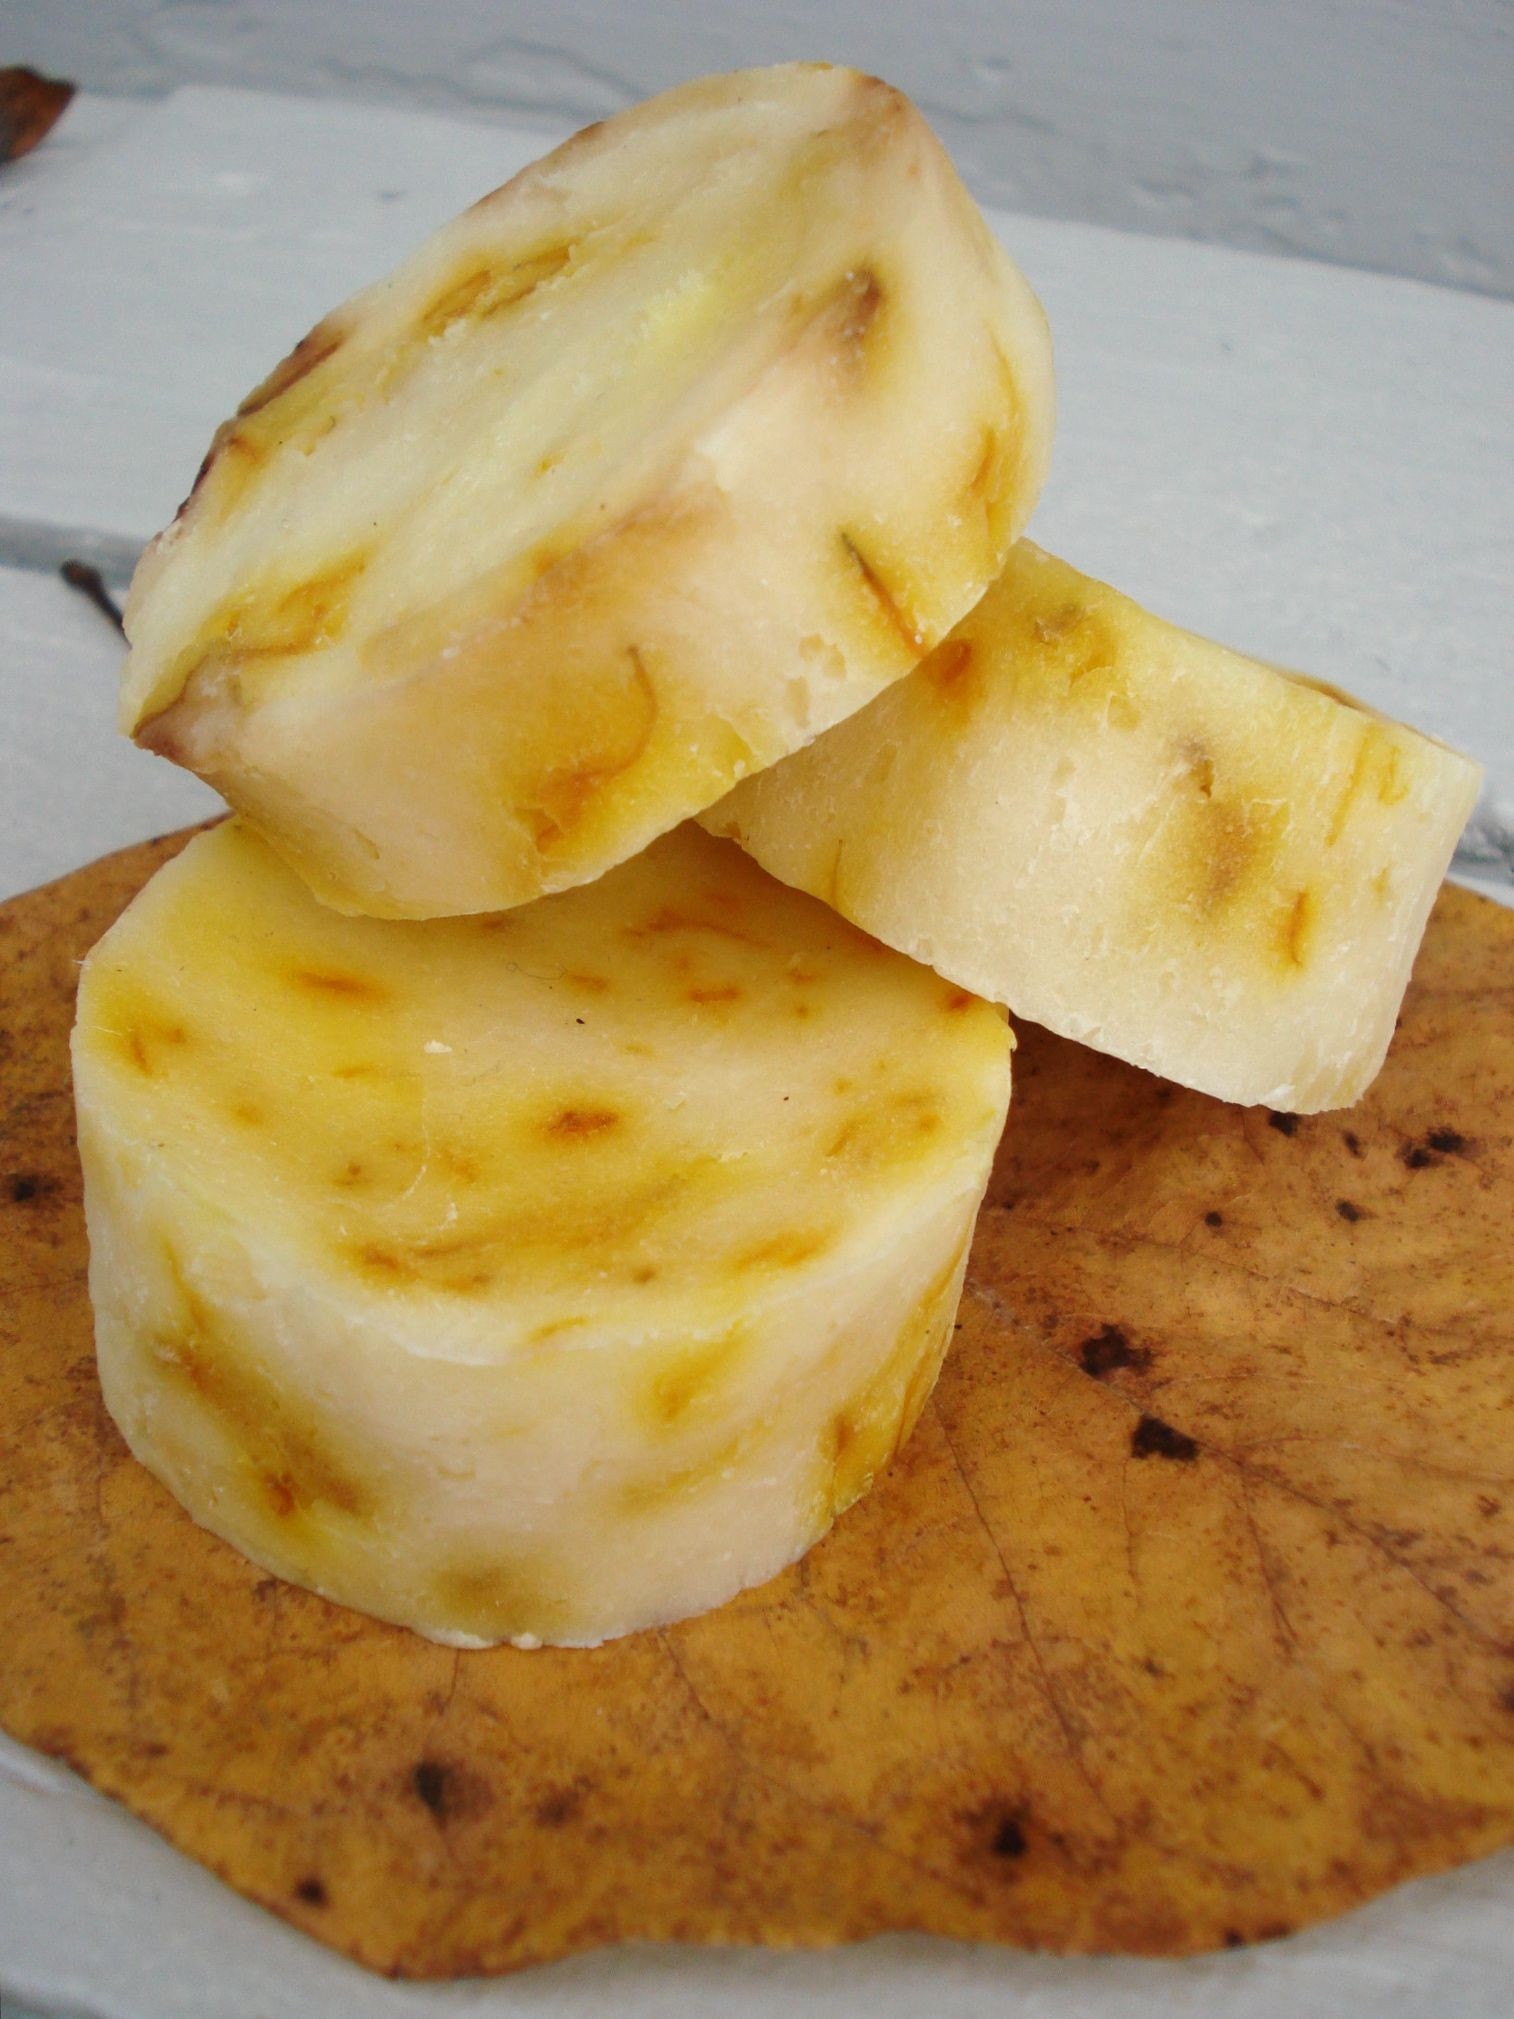
From top: lavender, green tea, peppermint dinosaur, cinnamon loofah

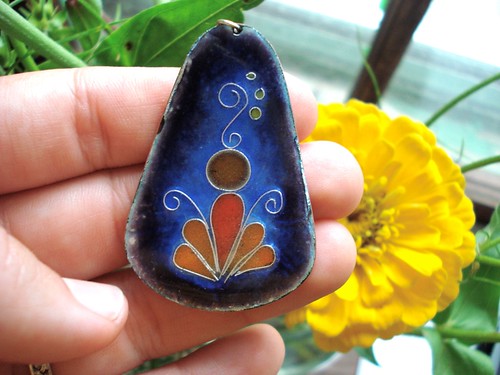
Can you tell which mold I liked best? I made a slew more, as pictured in that very top picture in the bowl at the top of the page.

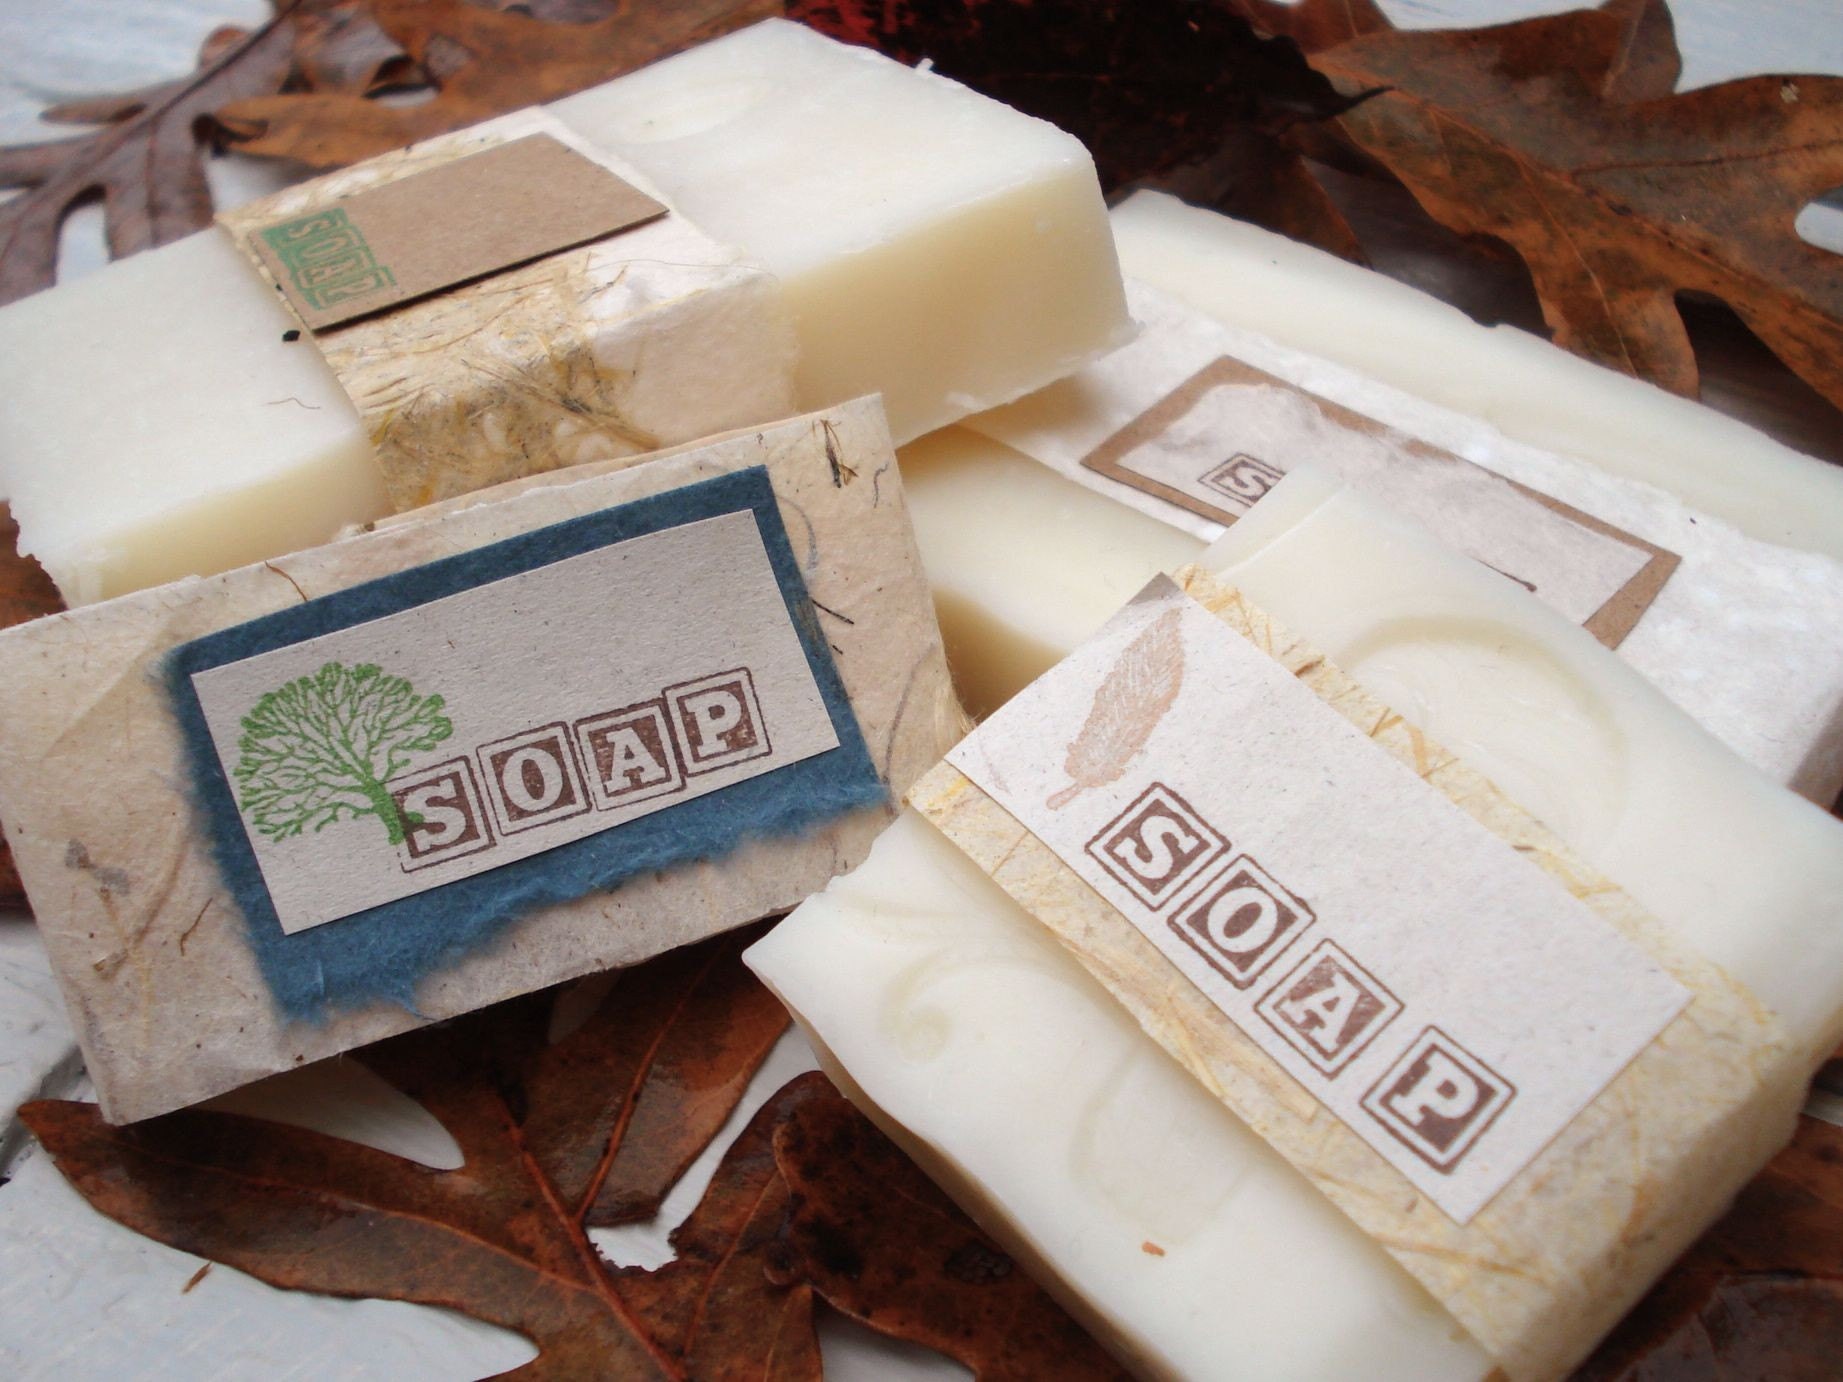
I liked the real, homemade style soaps better. Although to be honest, the beef tallow threw me off and I was a little grossed out by the smell, but I'm happy to report that as the days goes by and the soap cures (dries out and hardens into it's actualized state) you can hardly smell the tallow and it just smells like soap. We made sure to keep plenty of it unscented for those who prefer a plain, old fashioned bar:
Unscented soap slices cure.
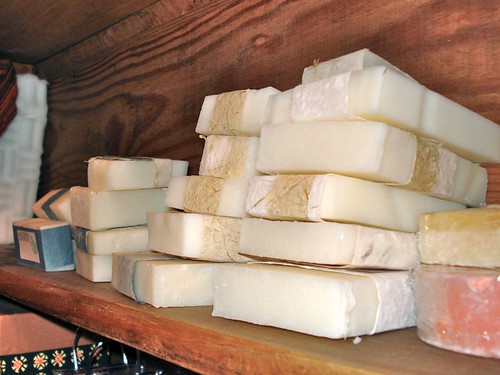
(these have Jenna's homemade paper as wrappers: so pretty!)

Those are curing in my closet. I'm also utilizing the very odd, slanted closets in the hall on the 2nd floor, which I'm pretty sure haven't been used much since 1928, to cure the rest of the batches. That closet smells DAMN GOOD right now.
My share of several batches, curing in the curious closet.
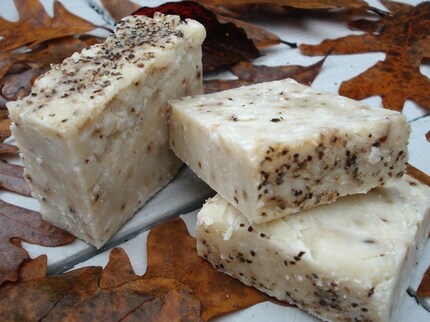
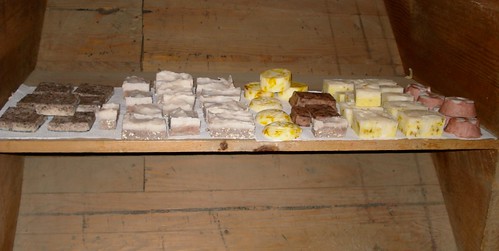
[From left: the peppermint bars with coffee grounds; Nag Champa oatmeal bars; my favorite lemony calendula bars which are practically dessert; a few lavender blueberry bars; lemony jasmine bars, almost as good as the calendula; and a soft pink cupcake batch that I honestly can't remember the scent of at the moment.]

DSC07961
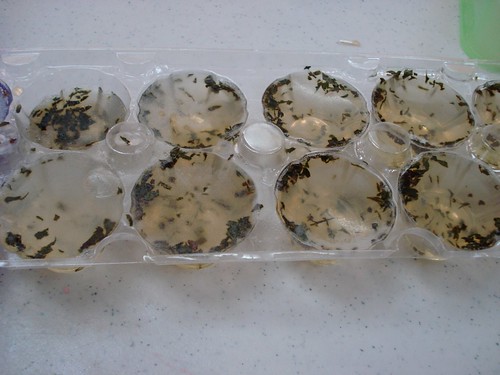
I used a plastic egg container to make the kids back at WMS some peppermint glycerine soaps with real spearmint in them. Each kid in After School gets one little shrink wrapped beauty to take home and (hopefully) use. There they are in their little shiny glory: aren't they edible looking?
DSC07962

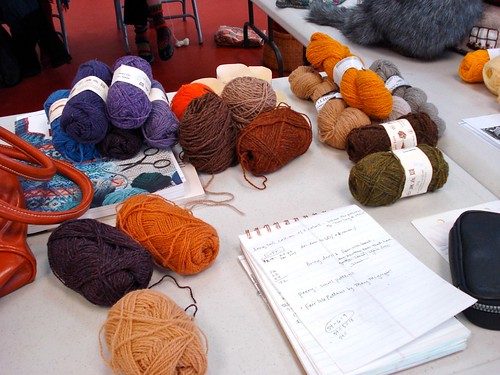
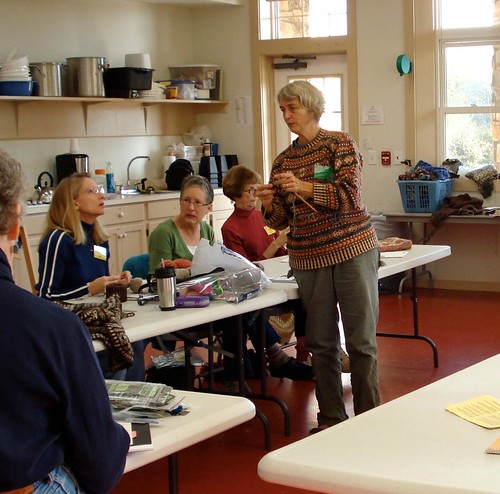
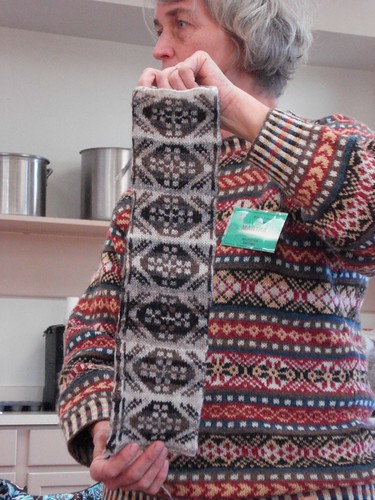
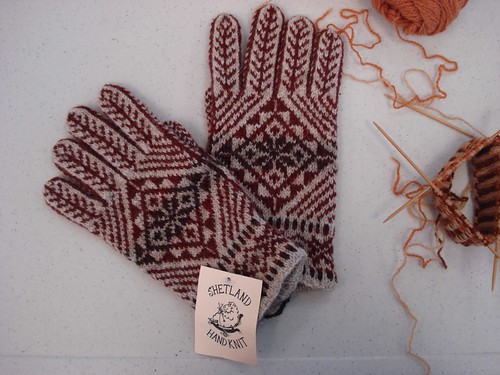
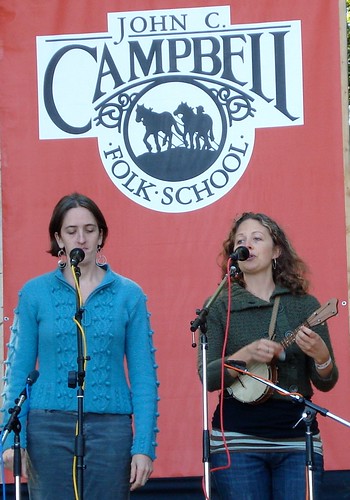
This coming week I'm in a Fair Isle Knitting class, and I couldn't be more excited; not only because I get to keep my hands out of sticky soap and leave the goggles and gloves alone, but because I finally get to take a class with Martha Owen, a legend in the fiber arts world. Lots of yarny pictures to come, I'm sure!

At the Student Exhibit, 10/16

12 October, 2009

Self-sufficiency is a lovely thing

Jeeeeeeeezus. Today was harder than the last 2 weeks put together (and those weeks included Fall Festival). One trip to the hospital, a kajillion errands, two overflowing toilets, two students switching classes (meaning 4 teachers to explain things to), one instructor social to set up and run and take down, my first day in soapmaking class, rain, mail to deliver, a 6-foot-tall screen to transport across campus, phones not working, phones not being answered, bosses going AWOL at crucial moments, not one but 4 students who somehow did not get the message that their towels are inside their bedrolls and therefore have come looking for towels when they do not actually need them, two teachers who wanted to switch rooms changing their minds and no one told me they had already contacted someone else who was going to give them her room and so she never got told and had totally moved out and then had no idea she didn't have anywhere to move into... and a partridge in a pear tree.

Over and out. I need to knit and watch some Hulu.

SIGH.

11 October, 2009

A few of my best Cloisonne pieces

(Click to make them bigger)
My feather earrings after the last firing
yarn ball the 2nd, finished and in its pin holster.
DSC07945
my Cloisonne work! at the Student Exhibition, 10/09/09
I made these, yo
my Cloisonne work!

Cloisonne: a Quick Report!

My 1st finished piece!
It was my weekend off and between all the driving and the fun and the dancing and the crashing on Sarah's futon, I neglected to make a post about my very special first class, which I took last week, which was Cloisonne. Like from the root word of cloister, meaning to separate into little sections, this is a type of enameling where you bend silver wires into shapes and fill in and around them with wet glass powders in various shades and opacities.

I apologize for not having taken pictures of each of these steps. I like to work fast, and I only settle down and remember the camera when I've exhausted myself by getting three steps ahead of everyone else in the class. Which is when I realized I've made some horrible mistake and have to start over. Sigh. Anyway:

Step 1: pick your piece of metal (we used copper), clean it, stone down the rough edges, and pierce a hole into it if you desire.

Step 2: sift enamel (glass powder) onto both the front and the back (counter enameling) so that the piece doesn't warp, and fire it for a short while in the kiln. (If people won't see the back, you can use an ugly old mix of leftover enamels, but if it's a pendant or earrings you get to pick a pretty color to counter with.)

Step 3: If you're going to use translucent enamels, it looks better if you then attach a piece of real silver foil (like aluminum foil but much MUCH thinner and much MUCH more annoying to work with) and fire the piece so that the foil sticks down to the enamel on the front. No need to waste foil on the back of your piece, unless you truly want to work up something pretty on both sides.

Step 4: Bend up some wires into a shape approximating the outline of your design and then attempt to place them exactly where you want them on a slick-as-glass surface using a watery "glue" (ha!) that will only become sticky once you heat it up. But when you heat it the itty bitty silver wires can slip, or fall over on their sides, or just mysteriously migrate across the front of your piece. IT'S A FREAKING JOY. No, seriously, I think I may have ground my teeth into glass powder as a result of this process. If my piece looks sort of mottled, that's why. IT SUCKED. KlyrFire, I hate you.
1st piece in progress
(here's my wires, finally and firmly attached. Whew.)

Step 5: The fun begins! Now, having chosen colors of enamel that please you and having "washed" them (as much as you can wash powdered glass frit) you sort of push them into place with a wet paintbrush that is approximately the same diameter as three eyelashes held together. You have to keep the enamel really wet, lest you are accused of "working lumpy." It happened to me. Don't let it happen to you. Having anything about yourself called lumpy publicly, even if it is the glass frit you're pushing around and not actually one of your body parts, is a little horrifying.
My beginning steps, Cloisonne class day 1.
(Ooh. Better already.)

Step 6: Apply a not-lumpy layer of enamel all over the piece. Wet it, do a strange little tappy thing on the side of the piece to smooth it all out, and wait for it to dry. (You can greatly speed things up here by looking around to see if anyone is paying attention and then quickly blotting with a paper towel.) Once it's dry,you can then fire it. Firing things is fun and easy. It takes less than two minutes, usually, and you get to hold an amazing tool that looks like a cattle prod crossed with a taser crossed again with a fencing foil. And you use it to take glowing red metal out of a kiln right at eye level. Closed-toe shoes are essential here. Once you fire it hot enough, your piece is smooth as glass (um, because it is glass) and so pretty. You can then choose to grind down the surface and re-fire it, so that the wires are all the same height as the glass, or to just leave it as is, in relief (the 3-D kind, not the emotional kind).
My cloisonne work.
(There she is! No, this has nothing to do with NBC!)

I made tons of pretty things during the week, which are all posted on facebook and Flickr, with captions. Several Xmas presents were made but are not online, and most of the things I made i then sold at the student exhibit (gotta make some money for soapmaking, my next class!). There are even two pairs of earrings that I saved out to sell in my Etsy shop!

04 October, 2009

Planning time off

Meeting to talk about weekends off didn't happen as fast as I thought it would, and I sort of stalled on remembering what Big World Events are happening when, and all this basically means is that I am skipping LEAF again this year but will finally get to go to SAFF.

It's almost the same, but with two effs and an ess, right?

But seriously folks, who needs round-the-clock contra dancing when there is beautiful roving to be fondled? And possibly eating more Festival food (not that I can even think about that after this weekend. Ugh.) And it's $3 to get in as opposed to a hundred-and-whatever LEAF is charging these days. And I don't have to freeze in a tent. Hey Sarah, I'm staying with you on the 24th, okay?

Bring on the sheep competitions,
Jessica

Fall Festival!

DSC07852
(Pearl and Annie Fain singing old songs)

DSC07890
(Garland dancers silhouetted at the Festival Barn stage)

When I arrived here a week ago yesterday, people were already talking (okay, stressing out) about Fall Festival. I couldn't believe it until I saw it with my own eyes, but over ten thousand people are currently milling around the Folk School, listening to little bluegrass and old time bands play on the two stages, and watching Morris dancers, Garland dancers, cloggers, and storytellers do their things in between. There are craftspeople demonstrating blacksmithing, timber framing, spinning and weaving, wood carving, and wood turning. There are 250 vendors, or thereabout, and more festival food than you can shake your ever-expanding booty at. (Yesterday I had an Italian sausage, some ribbon fries, a candy apple, some barbeque, and helped polish off a bag of kettle corn. Oh my GOD.) All the fields are full of cars, and all the paths are full of onlookers doing the slow-walk shuffle. We hosts and workstudies and maintenance workers are going full tilt (well, when we're not hiding) doing all kinds of random jobs.

Here are some highlights and things I thought were too beautiful to not pass without even a reminder.

DSC07865
I LOVE this ring.

DSC07861
I got yelled at for taking this picture!?

DSC07858
Poor cats.

DSC07862
The everpresent alpaca farm.

DSC07853
Hooray for friends who visit!

We're off to explore it all again before it's time to gear up for another week of classes!

I'm on Flickr a lot.

Jessica K.. Get yours at bighugelabs.com/flickr